If you ever present your SketchUp models live, in front of your client, one thing you can do to reinforce your brand is to place your logo over the workspace as a watermark. This is also great if you send your SketchUp models to other subcontractors, it’s a quick way for them to see who created the model. This tutorial will show you how.
Prepping your logo
Before you begin, you should have a PNG image of your logo, that has a transparent background. You can use something like Photoshop, Gimp, Inkscape, or even LayOut to create this image.
SketchUp will allow you to position the logo in any corner of the screen, but make sure there is some whitespace around the image in order to pad it away from the edges of the workspace. Otherwise, the image will be shoved into the corner.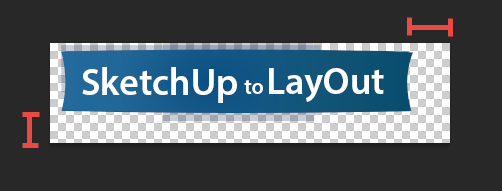
As far as image size, you’ll be able to scale the image when you set up the watermark, but you don’t get precise control over the scale of the image in terms of pixels. So just export your logo in the size you want it to appear as when you bring it into SketchUp.

Watch the video, or follow the written tutorial below.
- In SketchUp, go to Window -> Styles. Since watermarks are a style setting, you’ll need to first activate the style you want to start from, and we’ll add the watermark to it and save it as a new style later.
![SketchUp Styles]()
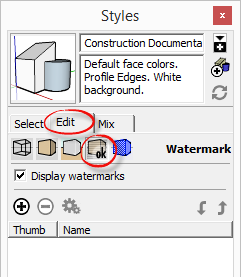
- Click on the Edit Tab, then select the Watermark Button.
![watermark button]()
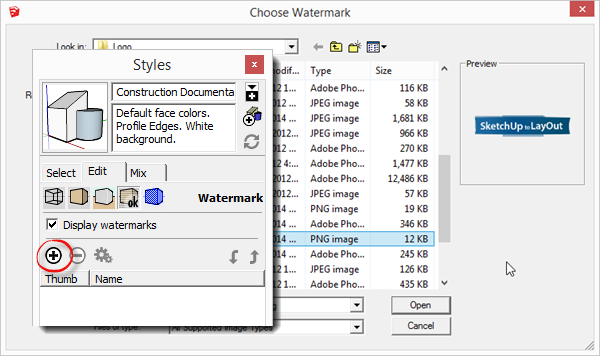
- To add a watermark, click the plus button. In the window that pops up, select the image you want to use.
![Choose Image]()
- In the next window, you can type a name for the watermark. This is useful if you are displaying multiple watermarks at the same time so you know which is which. Otherwise, just leave it with the default name. Make sure overlay is selected, and click next.
![Watermark Overlay]()
- You can adjust the transparency of your watermark using the Blend slider. (Personally, I like to set the logo to be around 95% opacity.) Click Next.
![watermark opacity]()
- Set the watermark to be Positioned in the screen, and select one of the corners to indicate the location of the logo. You can also fine tune the scale of the image using the Scale slider.
![position]()
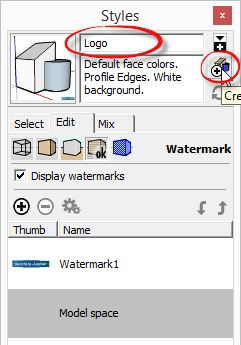
- Once you click finish, you’re done. You just need to save the style under a new name. Type in a new name in the style title bar, then click the create new style button.
![savestyle]()


If you’d like to learn how to save the style for use in future projects, check out my other tutorial, Common SketchUp Style Misconceptions.
The post Add logo to your SketchUp workspace using watermarks appeared first on www.MasterSketchup.com.